

Making a sourdough starter recipe at home may sound complicated, but it’s actually one of the easiest baking projects for beginners. This easy sourdough starter recipe uses only flour and water—no commercial yeast required. If you’re searching for a reliable, step-by-step sourdough starter recipe that works for busy American home cooks, this guide will walk you through the entire process from day one to a fully active starter.
The best part?
You only need two basic ingredients—flour and water. No yeast. No special equipment. Just a little patience and daily feeding.
This step-by-step guide is written for complete beginners, especially busy American home cooks who want clear instructions without complicated baking terms.

Easy Sourdough Starter Recipe (No Yeast)
Ingredients
Method
Day 1
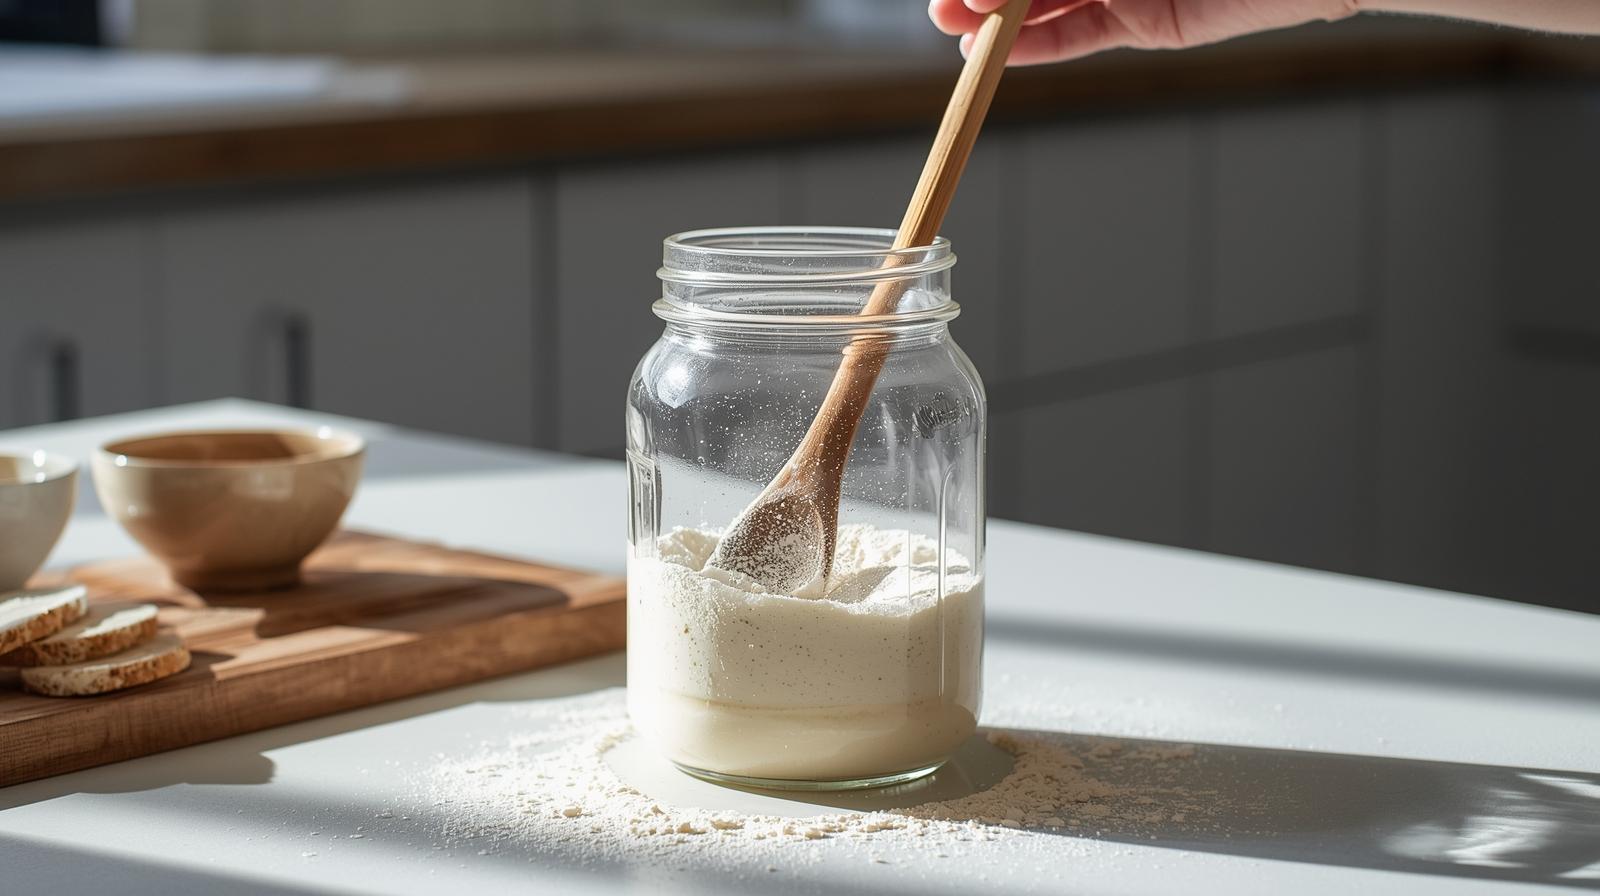
In a clean glass jar, mix ½ cup whole wheat flour with ¼ cup water.Stir until a thick paste forms.Cover loosely and leave at room temperature.Day 2
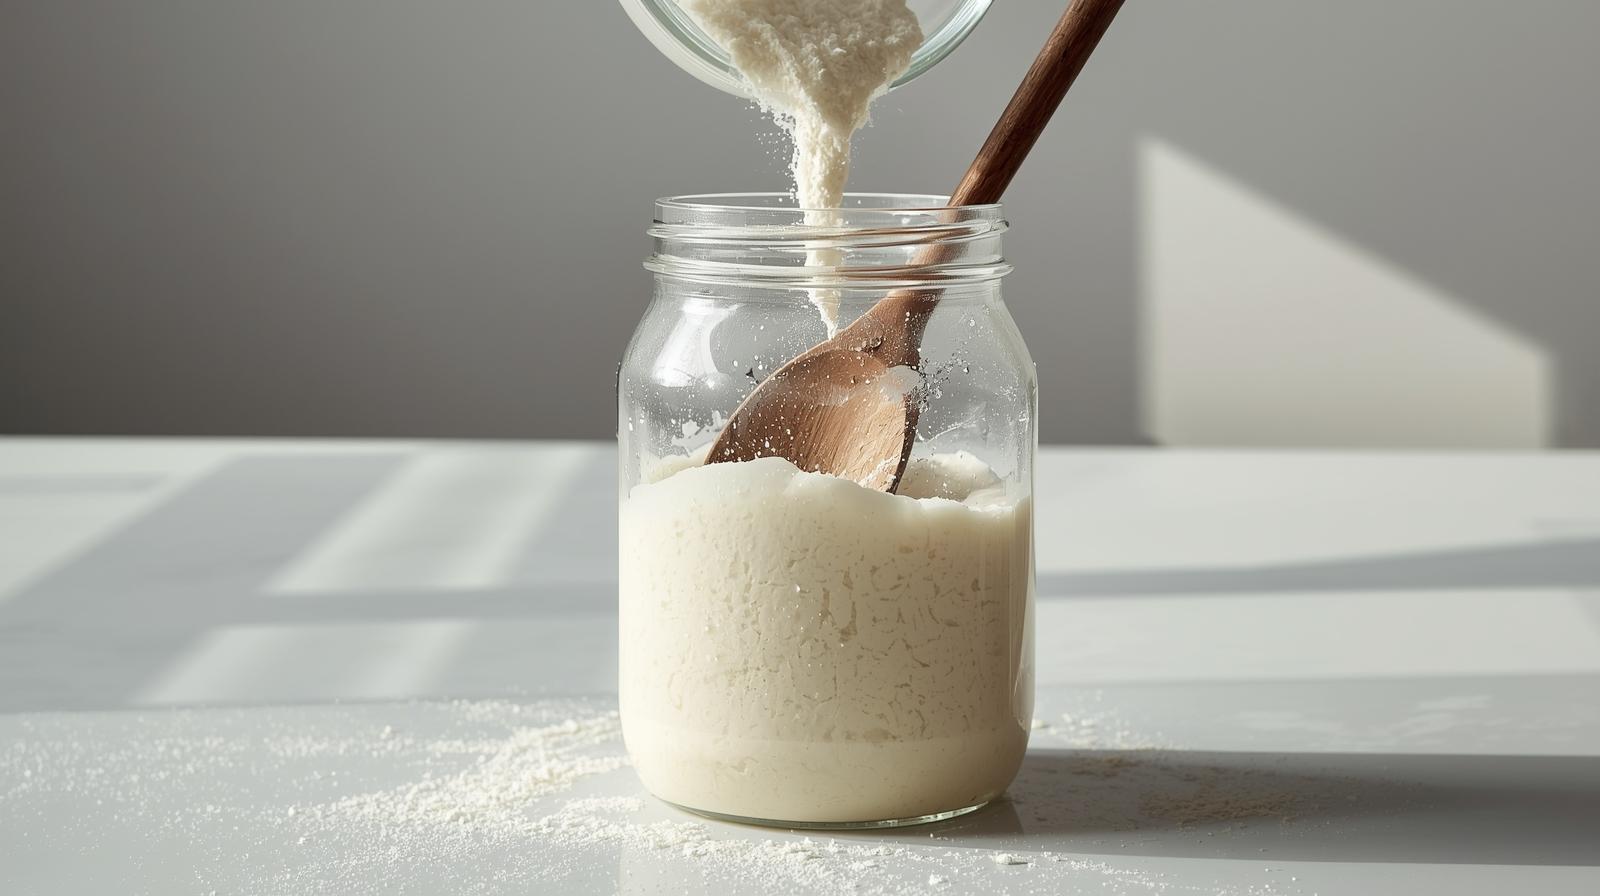
Add ½ cup flour and ¼ cup water to the jar.Stir well.Cover loosely and leave on the counter.Day 3
Look for small bubbles on the surface.Feed again with ½ cup flour and ¼ cup water.Stir and cover loosely.Day 4
The starter should look airy with more bubbles.Feed using the same amounts.Leave at room temperature.Day 5
Starter should double in size within 4–6 hours.It is now active and ready to use.
Notes
- Whole wheat flour helps the starter ferment faster.
- If liquid forms on top, the starter is hungry and needs feeding.
- Keep the jar loosely covered to allow airflow.
What Is a Sourdough Starter?
A sourdough starter is a natural leaven made from flour and water. Over time, wild yeast and healthy bacteria from the air and flour begin to grow in the mixture. These natural yeasts are what make sourdough bread rise—instead of store-bought yeast.
This fermentation process is what gives sourdough its:
-
Tangy flavor
-
Better digestibility
-
Chewy texture
-
Longer shelf life
Once your starter is active, you can use it again and again for bread, pancakes, waffles, pizza dough, and more.
Why Make Your Own Sourdough Starter?
There are many reasons home bakers in the USA love making their own sourdough starter:
-
No commercial yeast needed
-
More natural and traditional baking
-
Better flavor than regular bread
-
Budget-friendly (just flour and water)
-
Can be kept alive for years
Once you have a starter, you’ll never need to buy yeast again for sourdough recipes.
Ingredients for Sourdough Starter
You only need two ingredients:
-
Whole wheat flour (or unbleached all-purpose flour)
-
Water (room temperature, filtered if possible)
Why whole wheat flour?
Whole wheat flour ferments faster because it contains more natural yeast and nutrients. After your starter is active, you can switch to all-purpose flour if you prefer.
How to Make Sourdough Starter (Day 1 to Day 7)
This process takes about 5 to 7 days, depending on your kitchen temperature.
Day 1
-
In a clean glass jar, mix:
- ½ cup whole wheat flour
- ¼ cup water
-
Stir until it forms a thick paste (similar to pancake batter)
-
Cover loosely with a lid or cloth
-
Place the jar on your kitchen counter at room temperature
Nothing dramatic will happen on day one—that’s normal.
Day 2
-
You may or may not see bubbles
-
The mixture might smell slightly earthy
Feed the starter:
-
Add ½ cup flour
-
Add ¼ cup water
-
Stir well
-
Cover loosely and leave on the counter
Day 3
-
Small bubbles should start appearing
-
The smell may turn slightly sour or tangy
Feed again using the same amounts:
-
½ cup flour
-
¼ cup water
If it smells unpleasant (like rotten eggs), don’t panic—this stage is normal and temporary.
Day 4
-
Bubbles should be more visible
-
The starter may rise slightly after feeding
Continue feeding daily:
-
Stir
-
Add flour and water
-
Cover loosely
Day 5
-
The starter should begin rising and falling
-
Texture will look airy and fluffy
-
The smell should be pleasantly sour
At this stage, your starter is almost ready.
Day 6–7
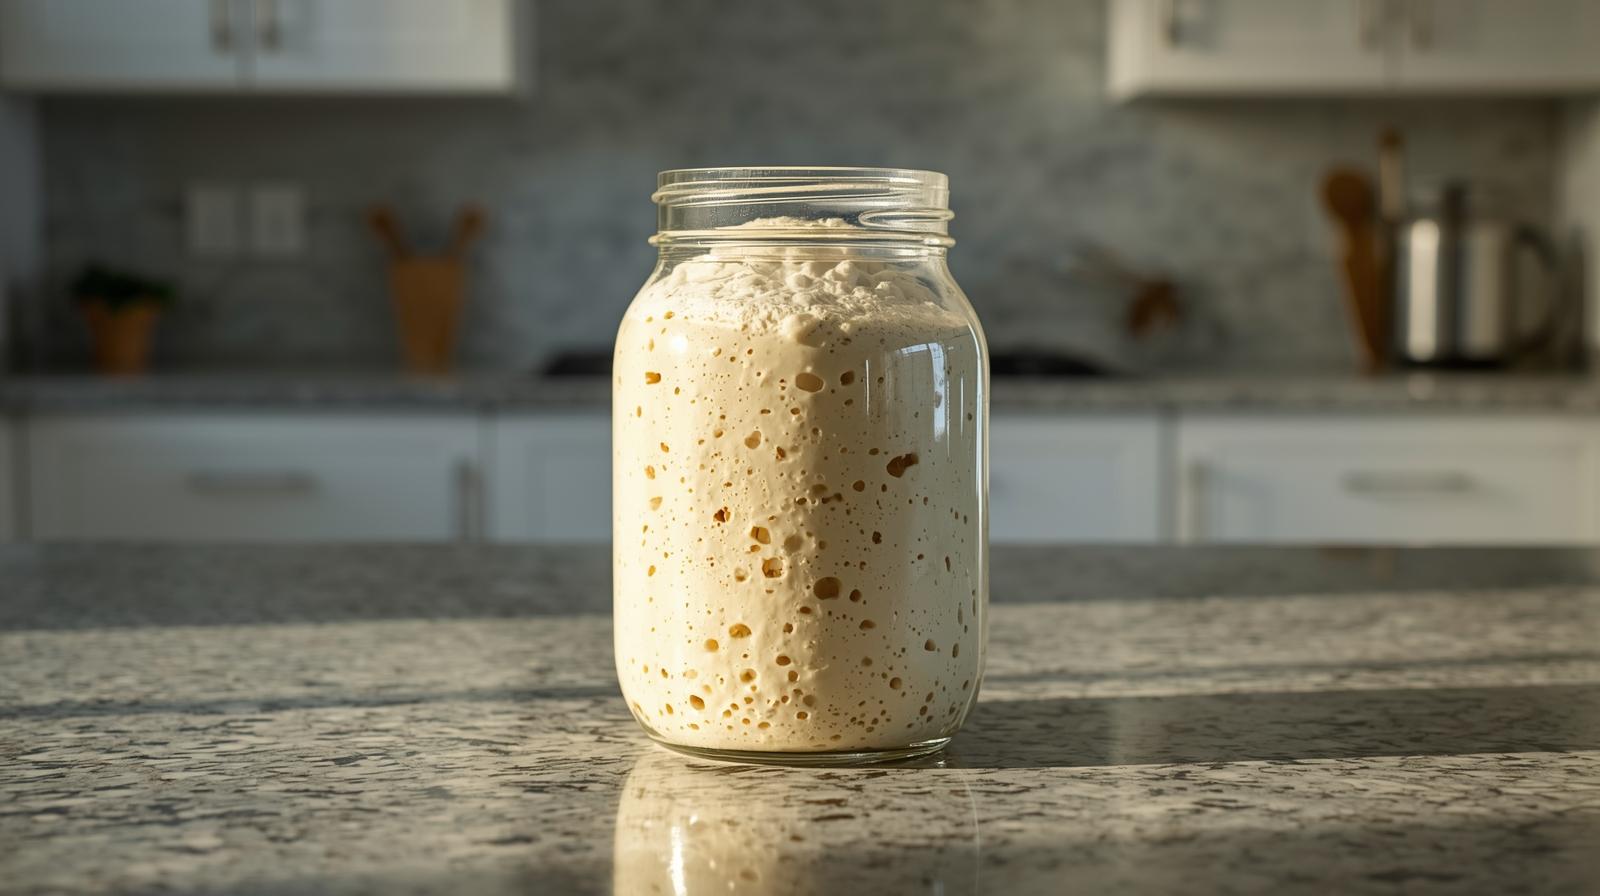
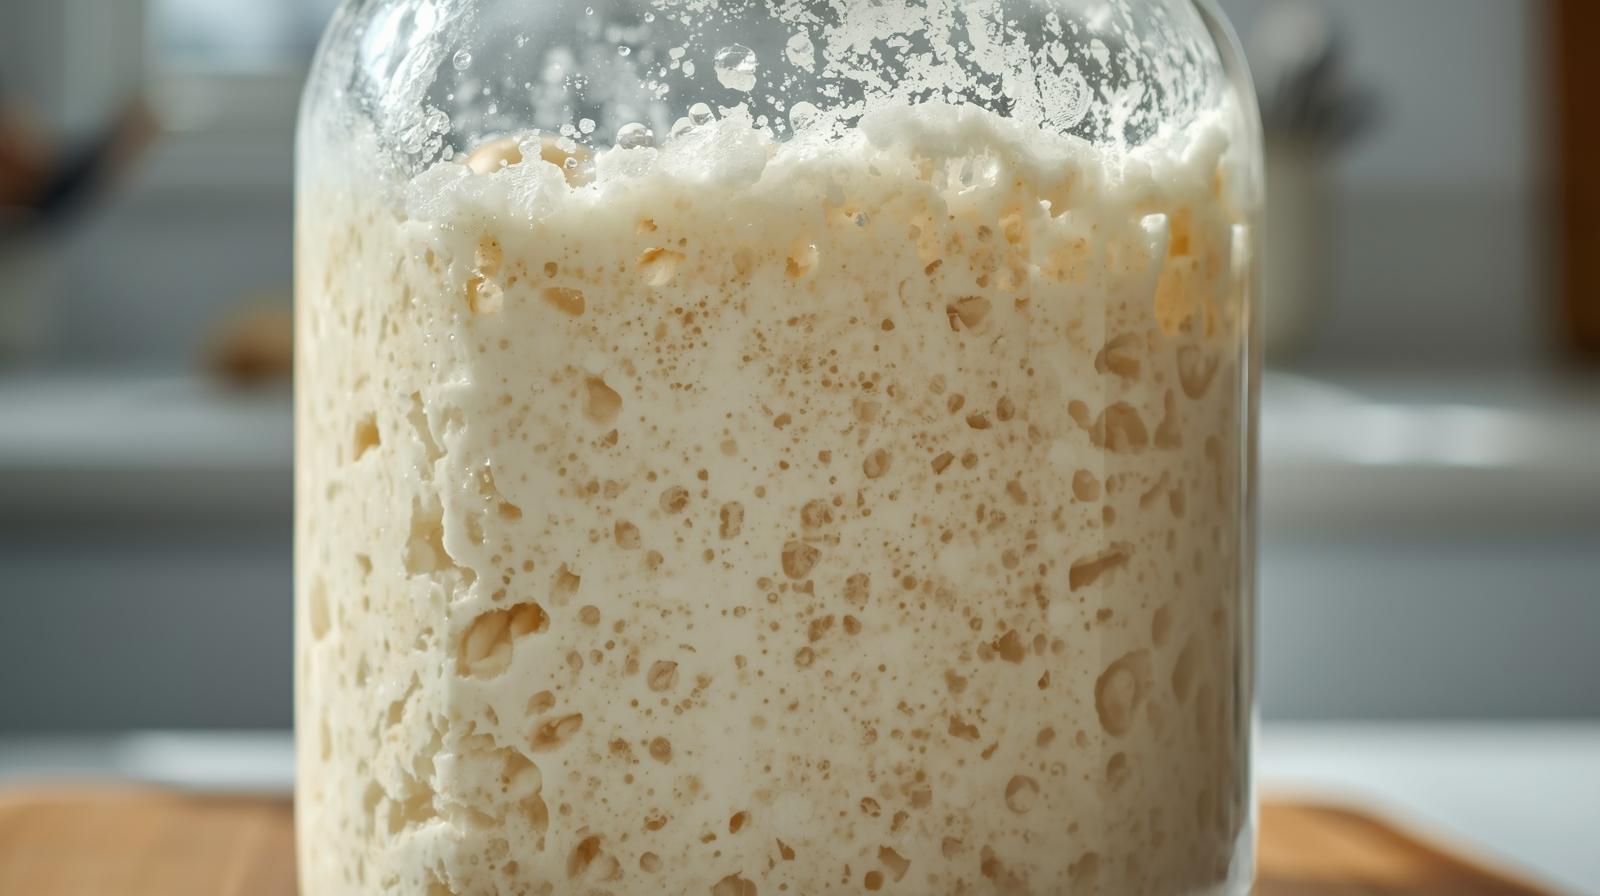
Your sourdough starter is ready when:
-
It doubles in size within 4–6 hours after feeding
-
It’s full of bubbles
-
It smells fresh, tangy, and yeasty
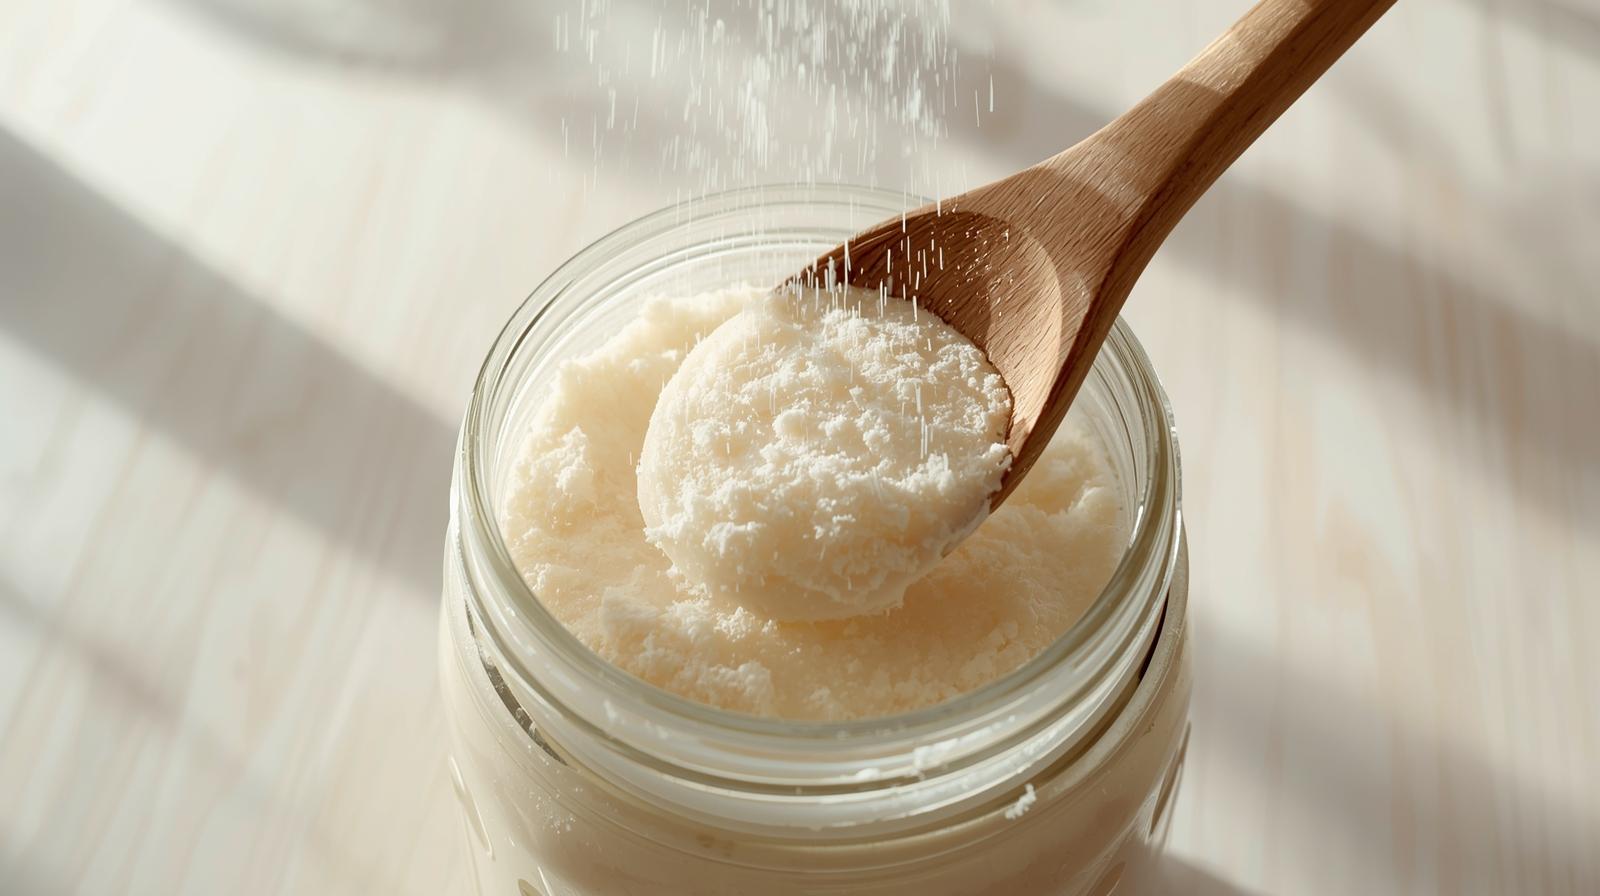
Float Test (Optional)
Drop a small spoonful of starter into a bowl of water.
If it floats, your starter is active and ready to bake with.
How to Feed a Sourdough Starter
Feeding keeps your starter alive and strong.
Basic Feeding Ratio
-
½ cup flour
-
¼ cup water
Stir until smooth. Scrape down the sides of the jar.
When to Feed
-
Daily, if kept at room temperature
-
Once a week, if stored in the refrigerator
Always feed your starter before baking for best results.
How to Tell When Your Starter Is Ready
Your sourdough starter is ready to use when:
-
It consistently doubles in size
-
It has lots of bubbles
-
It smells clean and tangy
-
It passes the float test
An inactive starter will be flat, watery, or smell unpleasant.
Common Sourdough Starter Problems (And Fixes)
My starter isn’t bubbling
-
The kitchen may be too cold
-
Try moving it to a warmer spot
My starter smells bad
-
Normal in early days
-
Keep feeding—it will improve
Liquid on top (hooch)
-
Starter is hungry
-
Feed it more frequently
Mold on starter
-
Discard and start over
-
Always use clean jars and utensils
How to Store Sourdough Starter
Countertop Storage
-
Feed daily
-
Best if you bake often
Refrigerator Storage
-
Feed once a week
-
Great for casual bakers
To use again, remove from the fridge, feed, and let it become active before baking.
Final Thoughts
Making a sourdough starter at home is simple, rewarding, and incredibly satisfying. With just flour, water, and patience, you can create a living starter that opens the door to endless homemade sourdough recipes.
If you’re new to sourdough baking, start here—this easy sourdough starter recipe is the foundation of everything that comes next.
FAQs About Sourdough Starter
Can I use all-purpose flour only?
Yes, but whole wheat helps starters grow faster.
How long does sourdough starter last?
With regular feeding, it can last for years.
Is sourdough starter safe to eat?
Yes, once it’s active and healthy.
Do I have to discard the starter?
Yes, or use discard in pancakes, waffles, and crackers.
")


")
")
")